


Setup Nexus OSS on Docker as Docker Registry for Learning
At work, Nexus Repos is used for storing Docker image here is some step to learn about it and try Docker push.
What we will be doing?
- Spin up Nexus repos
- Try push
- See the image in the Nexus GUI
Step 1: Writing the compose file
We don’t want our data to be lost between each start and stop.
So, we will create the compose file like this
version: "3.9"
services:
  nexus:
    image: sonatype/nexus3
    ports:
    - "8081:8081"
    - "8082:8082"
    volumes:
    - ./host-nexus-data:/nexus-data
We expose port 8081 is for web GUI and 8082 is for Docker push.
Step 2: Make the volume dir
mkdir ./data
sudo chown 200:200
The default group for Nexus is group id 200.
We need this first to allow Docker process to write to this folder.
WARNING
Directory MUST be created first otherwise the process CANNOT write admin.password or anything else

If you compose up first, the default root permission prevent Docker process to writing anything.
Step 3: Compose up
Now we can run the compose up!
docker compose upStep 4: Nexus Login
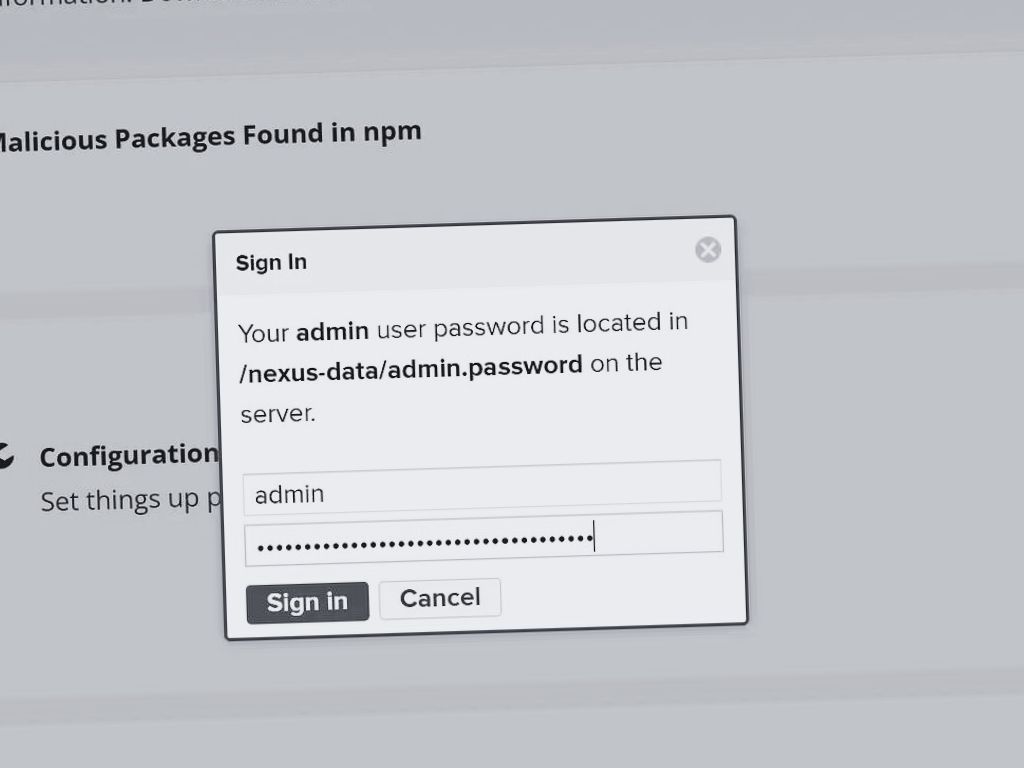
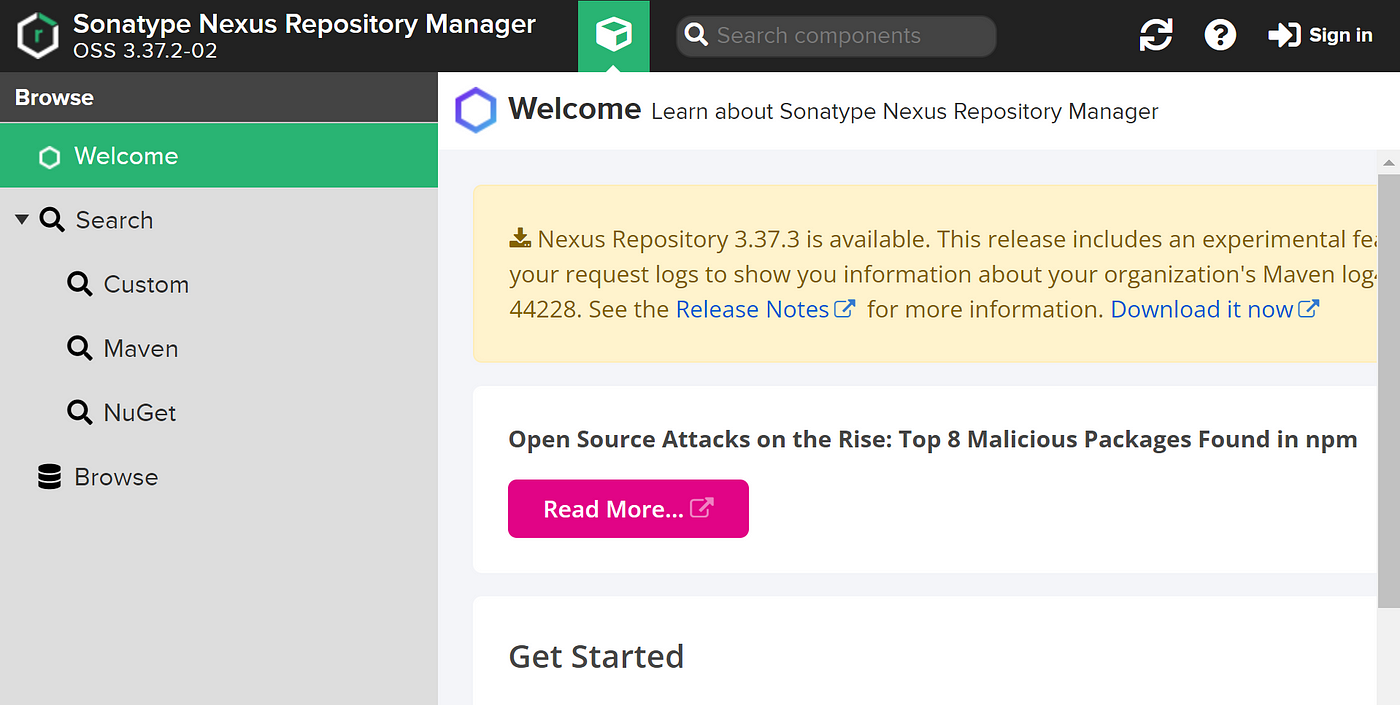
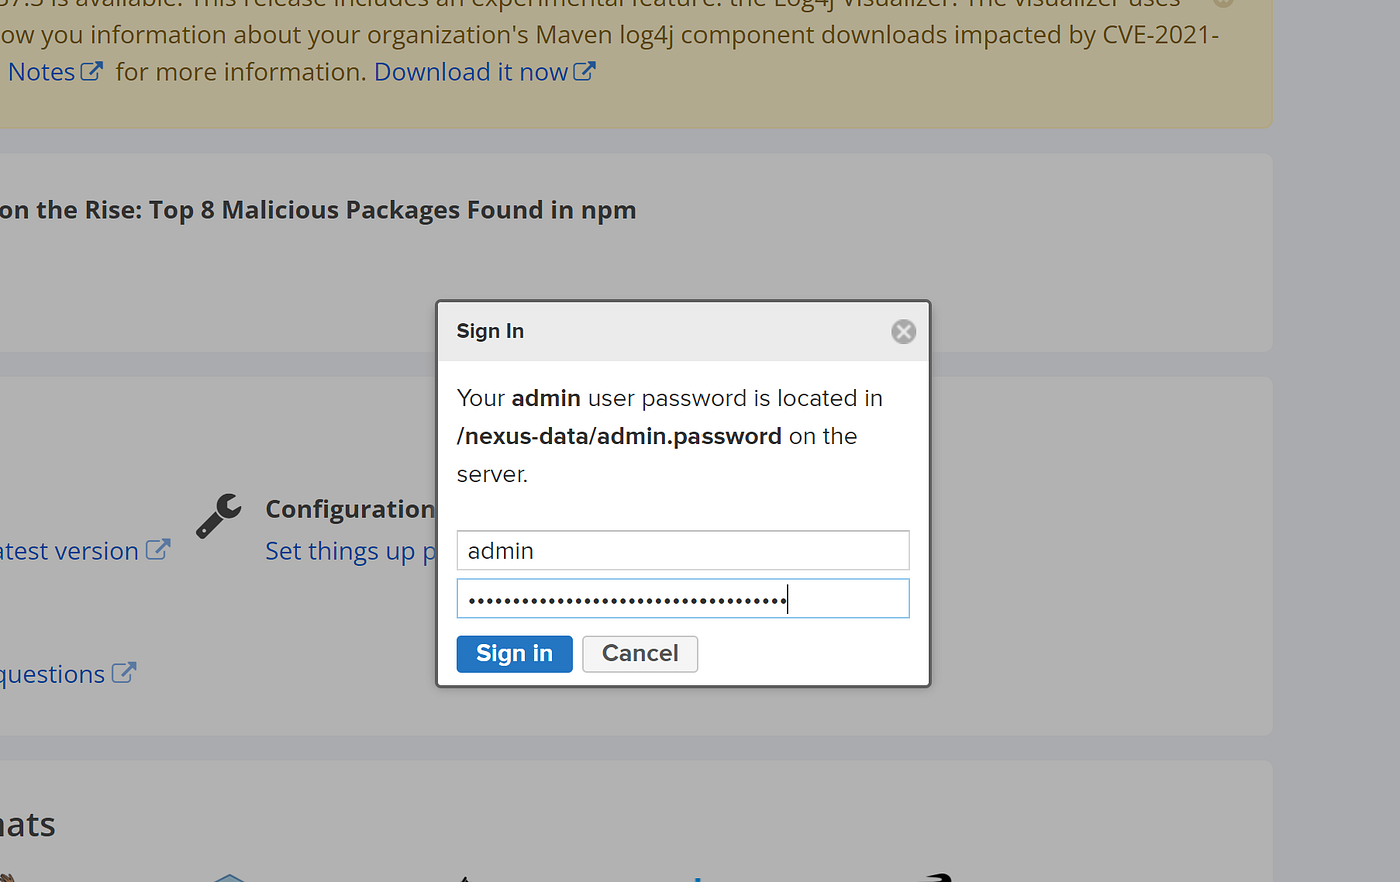
Then open localhost:8081 Nexus web GUI then Sign in in the top right.
Your password must be here in the docker sync folder

Copy and proceed
Next, next, next after that.
Step 5: Create Docker Registry
We will then create the repos to store the Docker image.
Click on wheel icon then ‘Create repository’
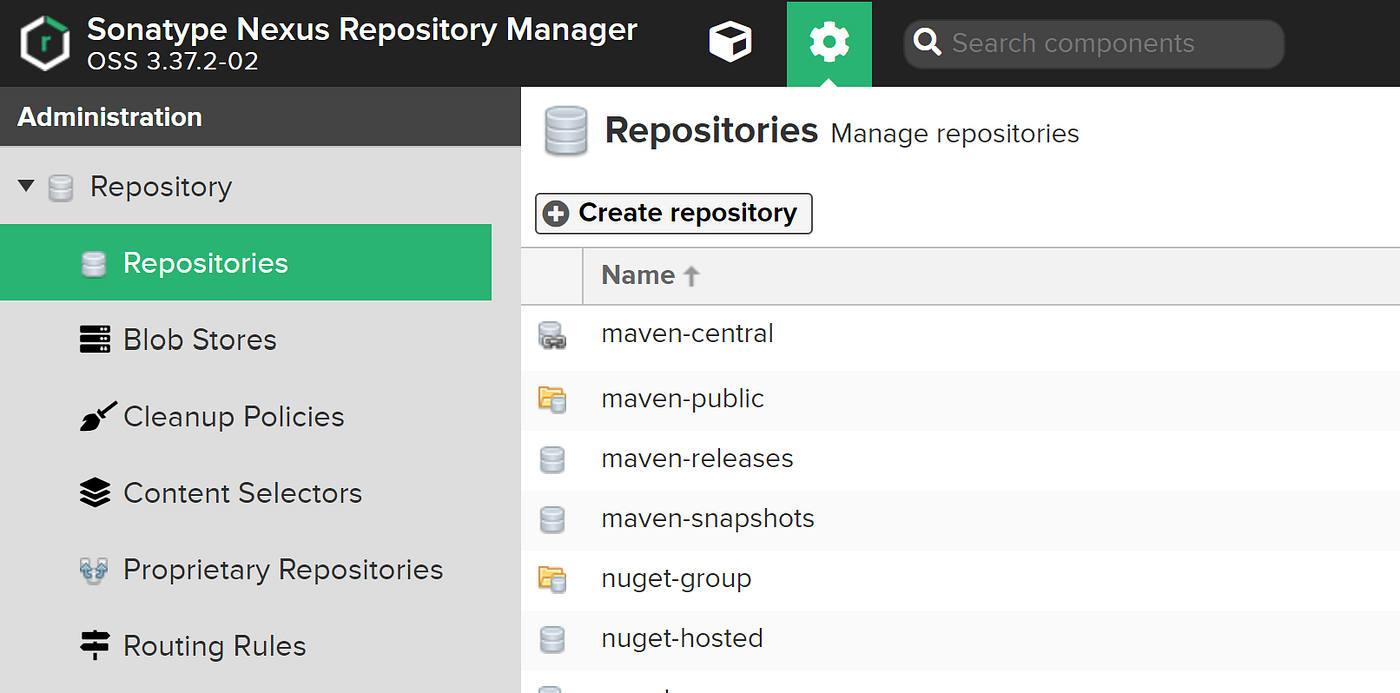
There is three types of docker
- Group — grouping hosted Docker together for easy access granting
- Hosted — We will use this. Normal private repos
- Proxy — not yet this, this is for forward to download from e.g. Docker hub
Choose Hosted and fill the info like below:
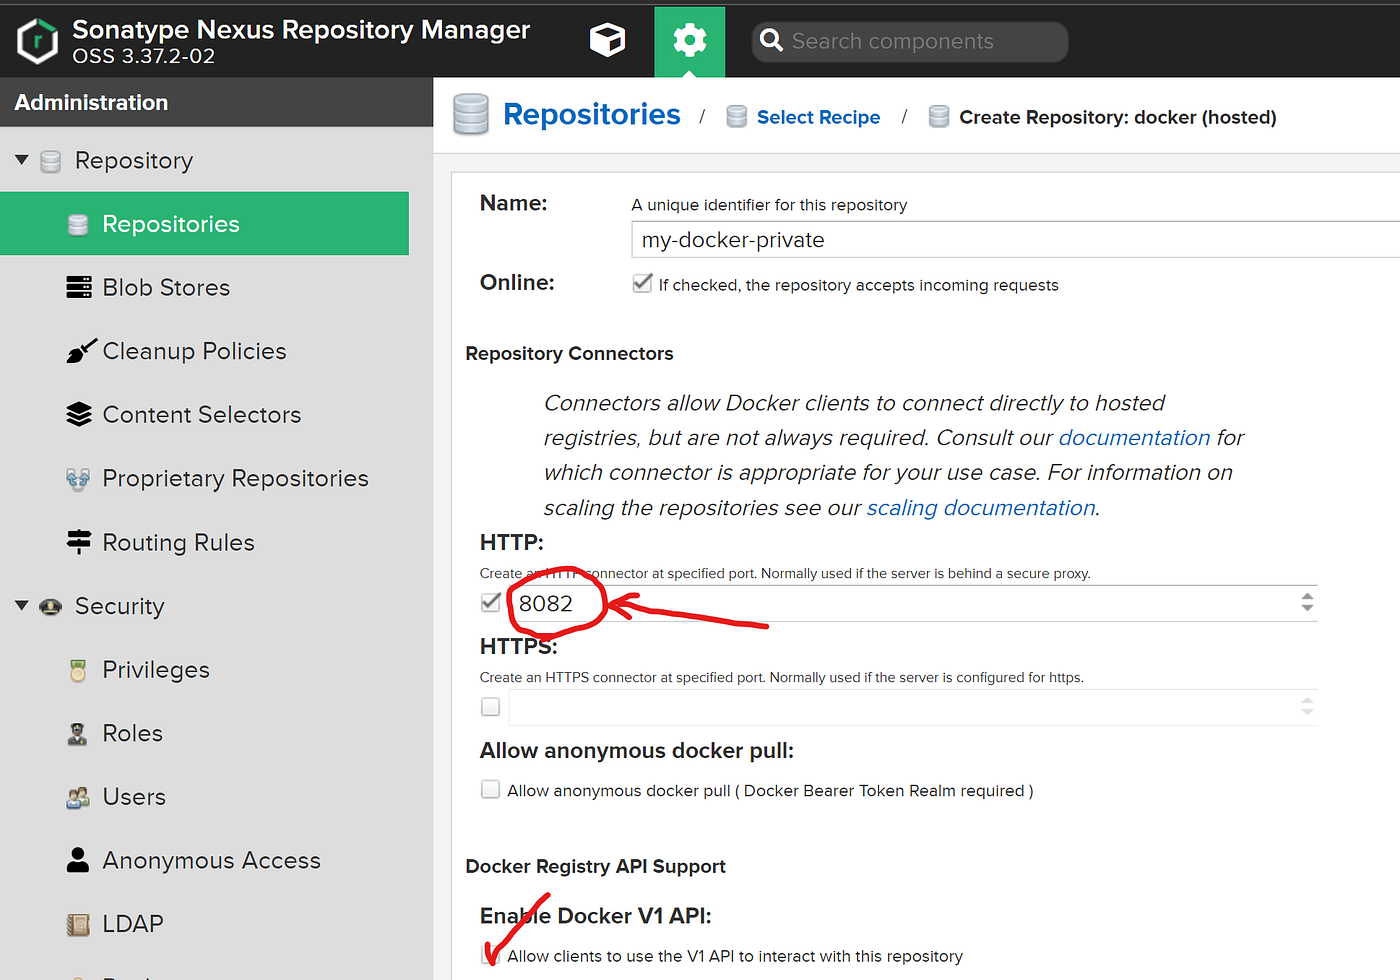
Then ok. At this point, you will see the repos appear on the listing page.
Step 6: Docker Login & Push
Login with Docker
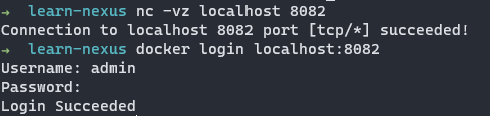
This will store at ~/.docker/config.json for future action.
This is not actually the concept of “login” we are familiar with.
You don’t have to logout to login another registry. When push/pull etc., it will JUST look up user/pass pairs that is matched with the destination.
Just find some random images tag and push.
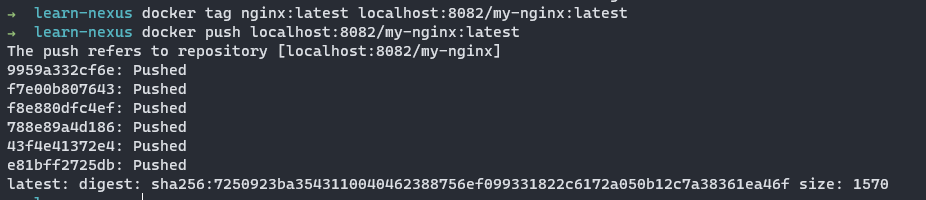
Step 7: Check the result
Here we go the final step is here.
Go to Browse and then our repos the image is end up here:
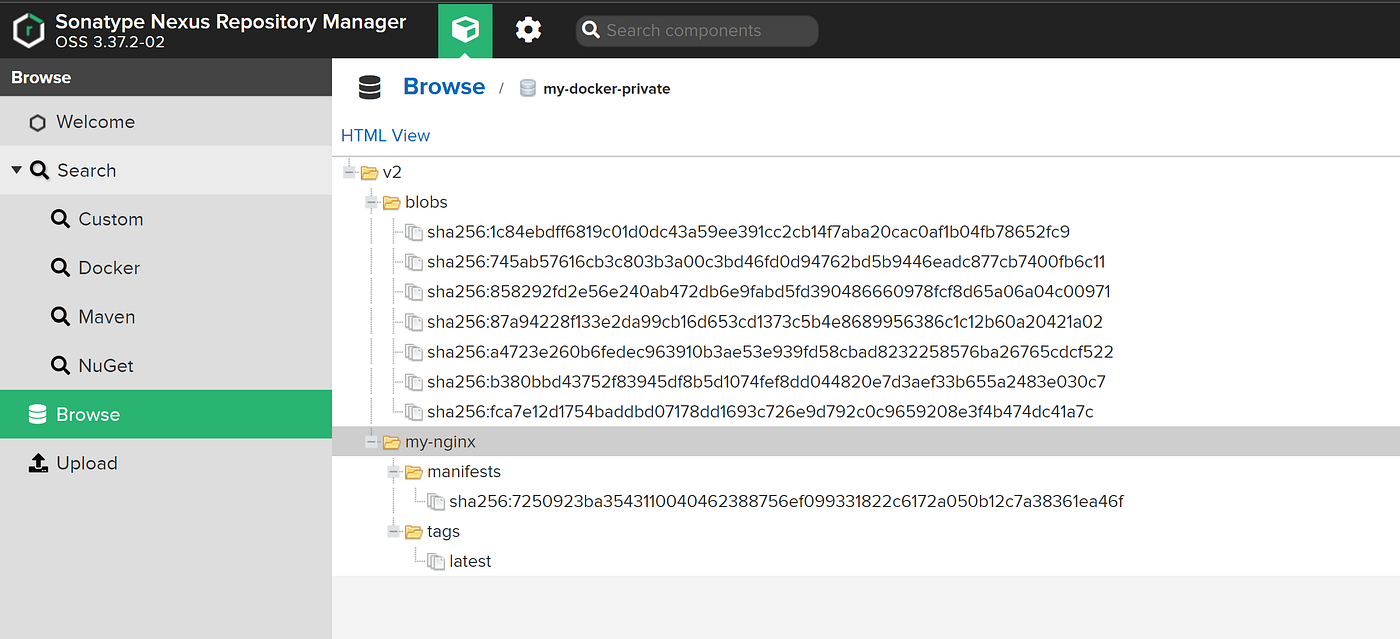
Information here are:
- Blobs is actually the content of the image
- Tags and manifest is the metadata referring to the Blobs
Hope this helps !
See you then.